The short version
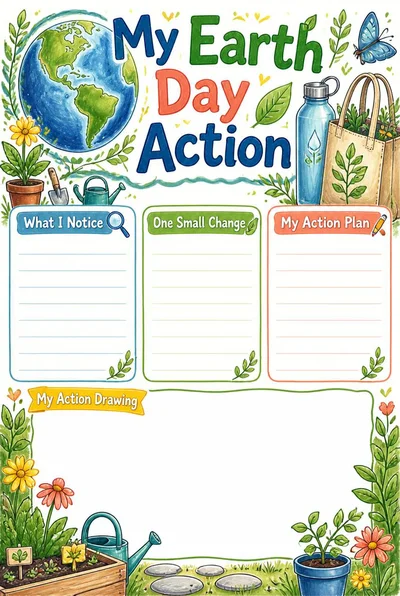
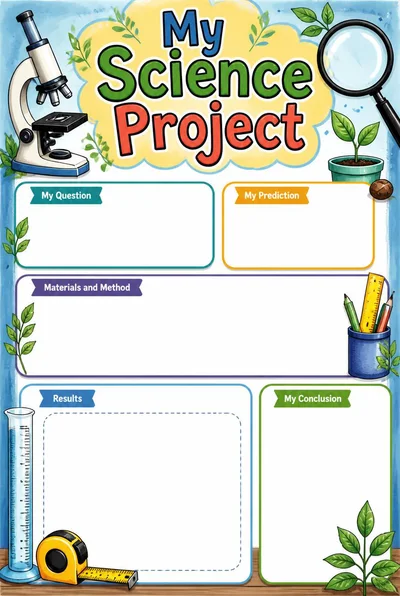
Decide what the poster should do after the presentation: invite a short gallery walk, explain one idea to a new audience, or become a record of the project. Photograph or store selected work with permission, and give the original back when it no longer needs to be displayed.
What to remember
- Choose a display method that fits the wall, traffic, and school rules.
- Use a short caption so viewers know what to notice or ask.
- Get permission before photographing or sharing identifiable student work.
Give the poster a job after presentation day
A project poster can keep teaching after its maker has spoken. It might help a class revisit one finding, give families a prompt for conversation, or help the next group see how a question was explored. Choose one purpose before deciding how long to display the work.
If the display is meant for a quick celebration, a one-week gallery may be enough. If it explains a process students will use again, keep it somewhere people can pause and read. The display period should follow the poster's use, not a rule that every project must stay up for the same amount of time.
Make a gallery people can actually read
Leave enough space between posters for each one to stand on its own. Hang work at a comfortable viewing height, avoid placing important writing behind glare, and keep pathways clear. In a busy hallway, check the school's display and fire-safety rules before attaching anything.
Add a brief caption with the project question, the class or group name if appropriate, and one invitation such as “What surprised you?” A small prompt can make the display easier to engage with than a row of unlabeled pages.
Choose what to preserve
Not every sheet needs to become a permanent archive. Students can select one piece to take home, the teacher can keep a sample that shows a useful process, and a class can photograph the full gallery if everyone involved agrees. A simple selection rule keeps storage manageable and makes the saved work more meaningful.
For digital records, include the project name and month in the file name, and store images in an approved school location. Follow the school's policy for student names, faces, and work samples; a poster can contain identifying details even when no portrait is shown.
Close the loop with students
Before taking the display down, invite students to notice what they learned from one another. They can leave a kind comment, name one new question, or explain how their original idea changed. This reflection makes the gallery part of the project rather than decoration that appears and disappears.
Return original work promptly or recycle it according to classroom practice. If a poster will be reused as an example, tell its maker and keep the context respectful. The goal is to celebrate effort while leaving students in control of their work wherever possible.
Browse poster printables
Explore ready-to-print school poster layouts.